
Crawler Crane Track Shoe Replacement Guide
Crawler Crane Track Shoe Replacement Guide: Learn the standard process for replacing track plates to maintain optimal performance and safety. Statistics show 35% of crawler crane failures stem from improper track system maintenance. This detailed guide helps equipment managers master professional maintenance skills.
Preparation Before Crane Track Shoe Replacement
1. Shutdown and site inspection
- Park the crawler crane on flat, solid ground to avoid slope operations.
- Turn off the engine, remove the key, and set up a warning sign to prevent accidental start-up.
- Check the ground load-bearing capacity and lay steel plates to increase stability.
2. Tools and materials preparation
| Tools | Purpose |
| Hydraulic jack (50 tons +) | Lift the fuselage |
| Track support frame/sleeper | Prevent track collapse |
| Sledgehammer, crowbar | Loosen rusted parts |
| Torque wrench | Accurately tighten bolts |
| Oxyacetylene heating gun | Remove stubborn pins |
| New track shoes and bolts | Ensure model matching |
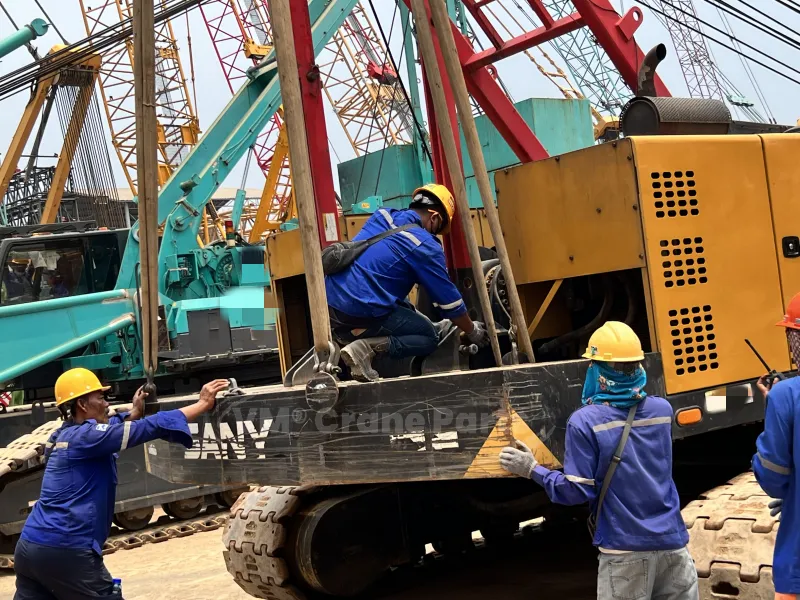
3. Personnel protection

- Operators need to wear safety helmets, non-slip gloves, and goggles.
- Heavy parts handling requires 2-3 people to cooperate, and lifting equipment should be used as assistance when necessary.
Detailed Steps For Crane Track Shoe Replacement
1. Release track tension
Find the tensioning cylinder (usually located near the guide wheel) and slowly release the hydraulic valve to relax the track.
Note: The cylinder may be under pressure and needs to be slowly depressurized to prevent hydraulic oil from splashing.
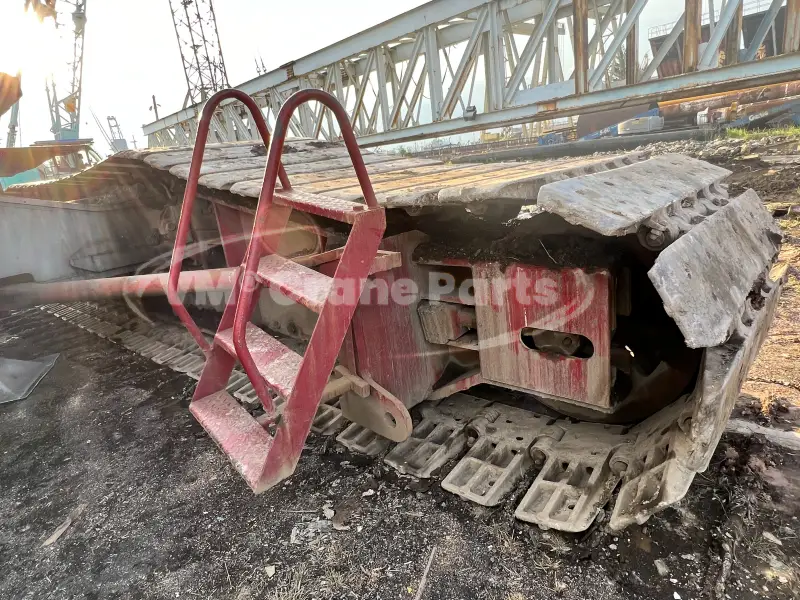
2. Remove the old track shoe
Separate the track chain: Use a crowbar to pry the track away from the drive wheel or guide wheel to expose the connecting pin or bolt.
If the bolts are rusted, spray a loosening agent (WD-40) and wait 10 minutes before removing.
Remove the damaged track shoe: If it is bolt-on, remove all bolts with an impact wrench.
If it is pin-connected, heat the pin with a heat gun (about 150°C) and then knock it out with a sledgehammer.
3. Install the new track shoe
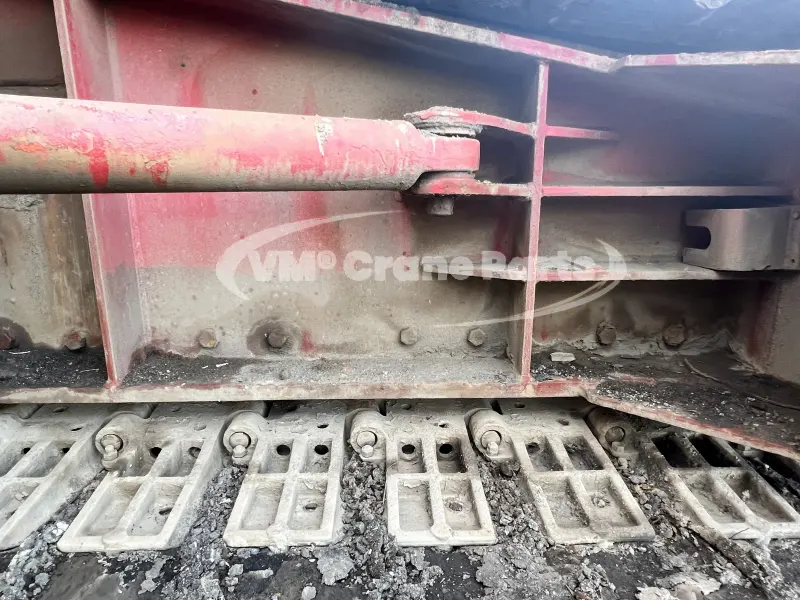
Cleaning and inspection
Use a wire brush to clean the contact surface of the chain link to ensure that there is no sand or burrs.
Check whether the hole position and thickness of the new track shoe match to avoid installation errors.
Fix the new track shoe
Bolt-on: Tighten twice in diagonal order (50% torque first, then 100%).
Pin-on: Heat the new pin and insert it, and install the retaining ring to prevent it from falling off.
Restore track tension
Operate the tensioning cylinder to adjust the track sag to 20-30mm (refer to the equipment manual).
Testing and Acceptance
No-load Test
Start the crane and move at low speed to check whether the crawler runs smoothly and whether there is any abnormal noise.
Load Test
Lift 10%-20% of the rated load and observe whether the crawler plate is evenly stressed.
Re-check the bolts
After running for 1 hour, tighten again according to the standard torque to prevent loosening.
Common Problems and Solutions
❌ Problem 1: Broken crawler plate bolts
✅ Solution: Use a broken wire extractor, or re-tap and replace with larger bolts.
❌ Problem 2: Track deviation
✅ Solution: Check whether the tension is consistent and adjust the position of the guide wheel.
❌ Problem 3: Abnormal noise after the new crawler plate is installed
✅ Solution: Check whether the chain links are aligned and readjust if necessary.
I enjoyed reading this article. Thanks for sharing your insights.