How to replace the crane bottom rollers safely and efficiently?
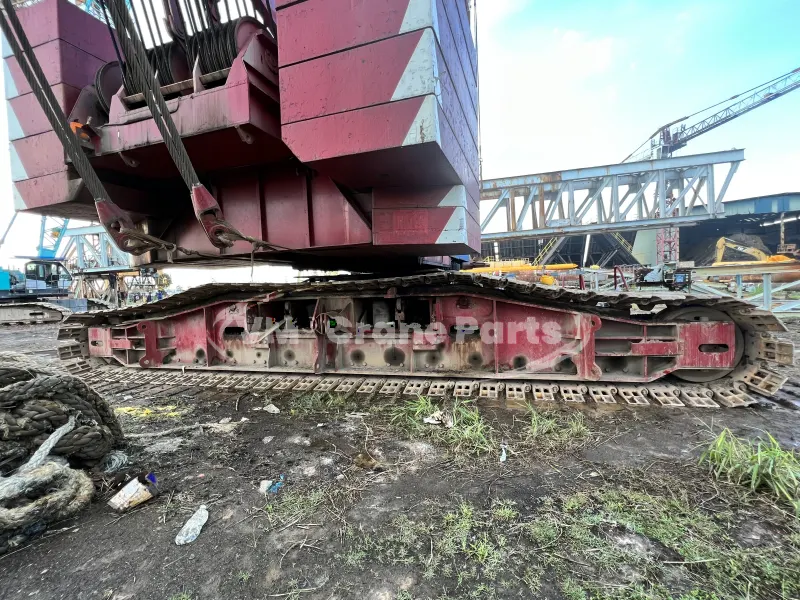
The crane rollers are the key load-bearing components of crawler cranes. They directly bear the weight of the entire machine and roll on the track. Under long-term heavy loads and harsh working conditions, the rollers will inevitably wear, damage, or even get stuck. Timely replace crane bottom rollers is essential to ensure the safe operation of the crane and prevent abnormal wear of the crawler tracks. Here are the detailed steps on how to complete the replacement of rollers professionally and safely:
Core safety warning:
- The power must be turned off! Before starting any work, make sure that the crane engine is turned off, the main power is disconnected, and the “No Operation” warning sign is hung.
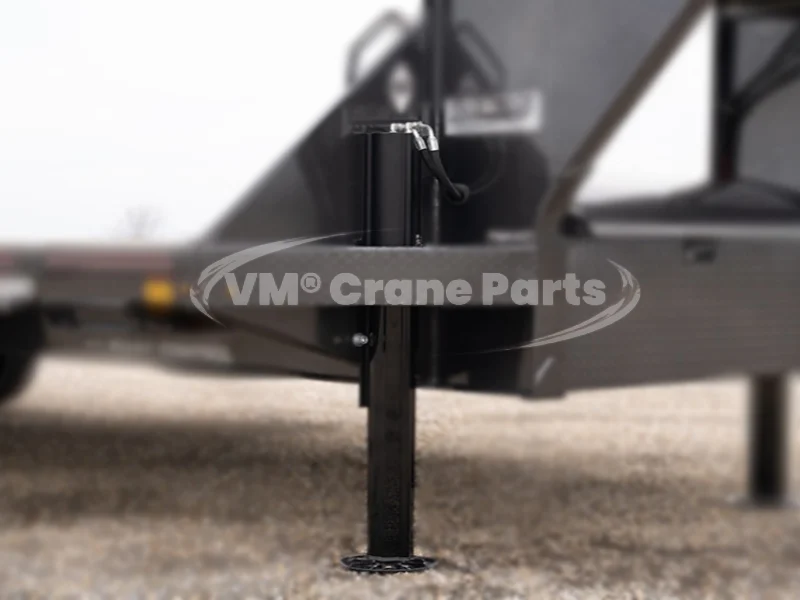
- Solid support! The crane must be firmly supported on a solid and flat ground with special support blocks or brackets to ensure that the rollers are completely unloaded and the crane will not move or sink unexpectedly. It is forbidden to rely solely on the hydraulic system support for maintenance!
- Personal protective equipment: Wear a hard hat, safety glasses, anti-smash and anti-puncture work shoes, and heavy gloves throughout the process. Use earplugs when necessary.
- Professional qualifications: Operations should be performed by trained professional maintenance personnel who are familiar with the structure of the crane model.
- Consult the manual: Always refer to the official maintenance manual of your crane model; details may vary from model to model.
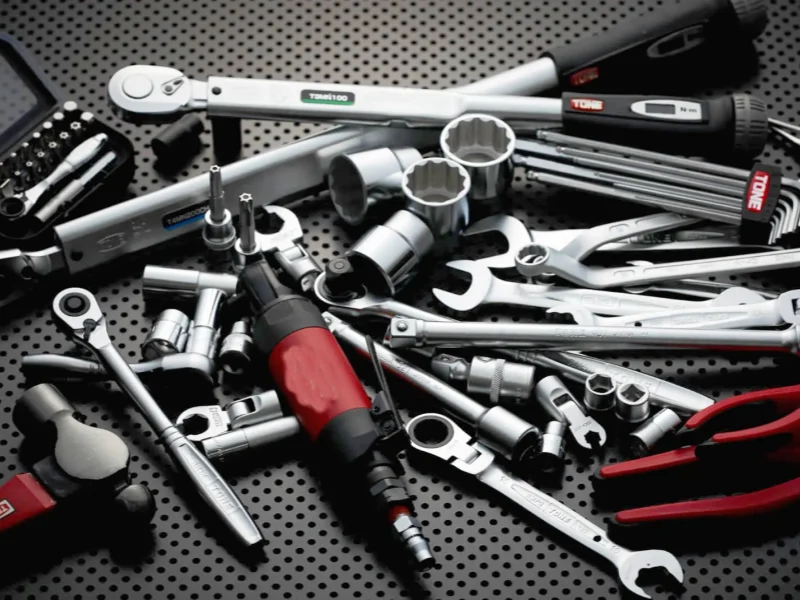
Required tools and materials:
- Hydraulic jacks of appropriate tonnage (at least 2)
- Heavy-duty support blocks/brackets (load-bearing capacity is much greater than the load of this part)
- Complete set of wrenches (open-end wrench, box wrench, socket wrench, size must match the bolt)
- Sledgehammer, copper rod
- Crowbar (one long and one short)
- Grease gun and high-temperature and high-pressure grease that meets the requirements
- New supporting wheel assembly (make sure the model, size, and load-bearing level are the same as the original)
- May require: pin punch, pin puller, cleaning agent, rag, torque wrench, wire brush
Detailed replacement steps:
Phase 1: Preparation and disassembly
Site preparation and crane positioning:
- Select a solid, flat, obstacle-free maintenance area.
- Carefully move the crane to the desired position, ensuring that there is enough space under the tracks to operate.
- Perform safety lockout procedures: Turn off the engine, disconnect the power, and lock out and tag out.
- Secure support: Place support blocks/brackets at the designated support points as instructed in the maintenance manual, ensuring that the weight of the crane is completely supported by the support and the rollers to be replaced are completely unloaded. Once again, it is extremely dangerous to work with the hydraulic system alone!
Remove the track (may be required on some models):
For designs that require the track to be completely removed or significantly loosened to access the roller fixing bolts/pins, it is necessary first to remove the track shoe connecting pins or use a tensioning device to release the track tension. Always follow the specific procedures for track removal/loosening in the manual.
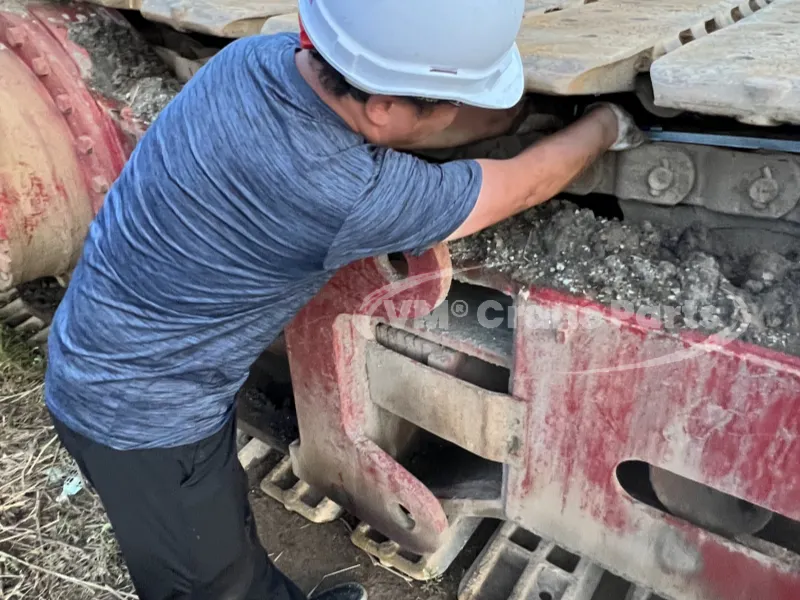
Remove the old rollers:
- Cleaning and inspection: Clear the heavy dirt, oil, and debris accumulated on the rollers and surrounding areas to facilitate access and inspection.
- Disconnect the connecting rod (if applicable): Some rollers are connected by a balance arm or linkage system, which requires the connecting pin to be removed first. Make a mark or take a photo to record the original position and shim sequence.
- Remove the fixings: Locate the bolts or large pins that secure the rollers. Remove carefully using a suitable wrench or special tool (may require the assistance of a sledgehammer and punch). Note that the bolts may be very tight and coated with thread locker.
- Remove the old wheel: After all the fixings are removed, carefully remove the old roller from the track frame (sprocket carrier). You may need to pry with a crowbar, but avoid excessive force to damage the mounting surface. Be aware of its weight and handle it safely.
Clean and inspect the mounting position:
Thoroughly clean the mounting hole, bearing position, and surrounding area of the roller on the track frame to remove all rust, old sealant residue, and dirt. Check the mounting surface for damage, deformation, or cracks. If there is a problem, it must be repaired before the new wheel can be installed.
Phase 2: Install the new crane track rollers
Prepare the new lower rollers:
- Check whether the model and specifications of the new roller assembly exactly match the old one. Check whether the seal is intact.
- Lubrication (key step): Use the specified brand of grease to fill the bearing cavity inside the new roller through all grease nipples (grease nipples) until the old grease is completely squeezed out (make sure the new grease fills the entire cavity). Clean the overflowing grease.
Install the new crane track roller:
- Carefully align the new roller with the installation position on the track frame. It may be necessary to make slight adjustments or use a crowbar to guide it into place. Make sure the installation direction is correct (if there is a distinction).
- Install the fixings: Install the new bolts or pins (if the old parts are in good condition and the manual allows, they need to be strictly checked). Tighten/insert by hand first to ensure smoothness without sticking.
- Restore the connecting rod (if applicable): According to the marks or photos when disassembling, correctly connect the balance arm or connecting rod, and reinstall the pin and gasket.
- Tighten: Use a torque wrench to tighten all bolts strictly according to the torque value and sequence specified in the maintenance manual. This is the key to ensure reliability and prevent loosening! For the pin, make sure its locking device (such as lock nut, circlip) is installed in place and reliably locked.
Install/Tension Track (if previously removed):
If the track was removed, reset it now. Use the tensioner (usually a grease gun with grease applied to the tensioning cylinder) to adjust the track to the correct tension specified in the manual (usually measure the sag).
Stage 3: Finishing and Testing
Final Inspection:
- Visually inspect that all removed and installed parts are properly reset, tightened, and locked.
- Clear tools and debris and ensure a clean work area.
- Remove brackets/support blocks used for support.
Commissioning and Testing:
- Unlock: Remove the “Do Not Operate” sign and restore power (without starting the vehicle first).
- Slow No-Load Operation: Start the crane (with the operator in the cab) and travel a short distance very slowly. Listen carefully for any unusual noises (screeching, knocking, grinding) in and around the new rollers.
- Observation: Observe that the new lower rollers rotate smoothly and are not stuck, skewed, or leaking oil.
- Load test (carry out with caution): Only after ensuring that the no-load operation is normal, can a light load test be carried out, and the operating status be observed again. If there is any abnormality, stop the machine immediately for inspection.
Important notes:
- Replacement in pairs: It is strongly recommended to replace two or more symmetrical rollers on the same side of the track or balance beam at the same time to maintain smooth operation and uniform force. Replacing one alone may cause new unbalanced wear.
- Lubrication: After replacement, lubricate the new roller in a timely and sufficient manner according to the cycle and grease type specified in the manual.
- Preventive maintenance: Regularly checking the wear of all track rollers (such as flange thickness, radial runout, rotation flexibility, and oil leakage), bolt tightening status, and track tension can effectively extend the life of the rollers and avoid sudden failures.
- Professional assistance: If you have any doubts about the process or your ability, be sure to seek help from the manufacturer’s authorized service personnel or a professional maintenance company. Safety is not trivial!
Frequently Asked Questions (Q&A):
Q: Can I only replace one damaged track roller?
A: Technically, it is possible, but it is strongly not recommended. Different degrees of wear of the new and old crawler crane rollers will lead to uneven force and unstable operation, accelerate the wear of the new wheels and track chains, and even affect other walking parts. They should be replaced in pairs (or by a balancing unit) as much as possible.
Q: Why is there an abnormal noise after replace crane bottom rollers?
A: Possible reasons: improper installation leads to friction; insufficient lubrication in the bearing cavity; the new wheel is not well run-in (there may be slight noise in the early stage, but it should disappear quickly); poor centering; or the new wheel itself has quality problems. If there is a persistent or obvious abnormal noise, stop the machine immediately for inspection.
Q: How to judge whether the rollers need to be replaced?
A: Mainly look at: the wheel rim is severely worn and thinned or cracks and gaps appear; the rotation is stuck and inflexible; the seal fails and causes serious oil leakage or bearing damage (there is abnormal noise and shaking when rotating); the wheel body is deformed. Regular inspection is the key.
Q: Is it necessary to use the original rollers?
A: It is highly recommended to use original or certified high-quality aftermarket parts. Poor-quality rollers cannot guarantee material, heat treatment, and sealing performance, have major safety hazards, have a very short lifespan, and the overall cost may be higher. Contact us to obtain original and cost-effective quality crane bottom rollers.
Conclusion:
Replace crane bottom rollers is a heavy equipment maintenance work that requires professional skills, strict compliance with safety regulations, and meticulous operation. Through adequate preparation, correct steps, use of qualified parts, and standardized installation, the safety and success of the replacement work can be ensured, and the reliable operation and protection of the crane can be guaranteed. Always put safety first and seek professional support when you are unsure.