-
By cranecrawler.com
- 0 Comment
The Complete Guide to Inspecting Crawler Crane Track Shoes
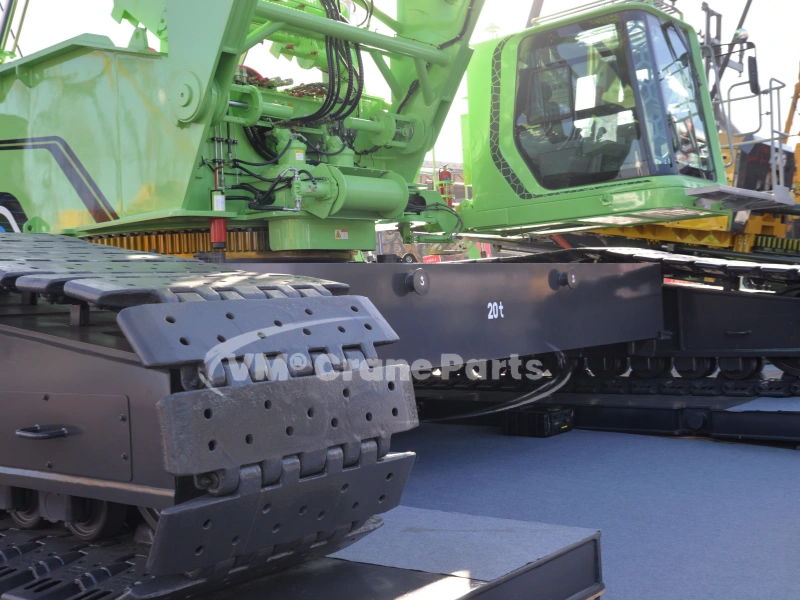
How to inspect crawler crane track shoes: Proper inspection of crawler crane track shoes is a critical maintenance procedure that ensures operational safety and equipment longevity. This guide provides a comprehensive crawler crane track pad inspection procedure and serves as an essential crawler crane track pad inspection guide for equipment managers and operators.
Why Track Shoe Inspections Matter
Crawler crane track shoes endure
- Extreme vertical loads during lifting operations
- Constant abrasion from movement and positioning
- Environmental degradation from job site conditions
- Impact stresses during travel over uneven terrain
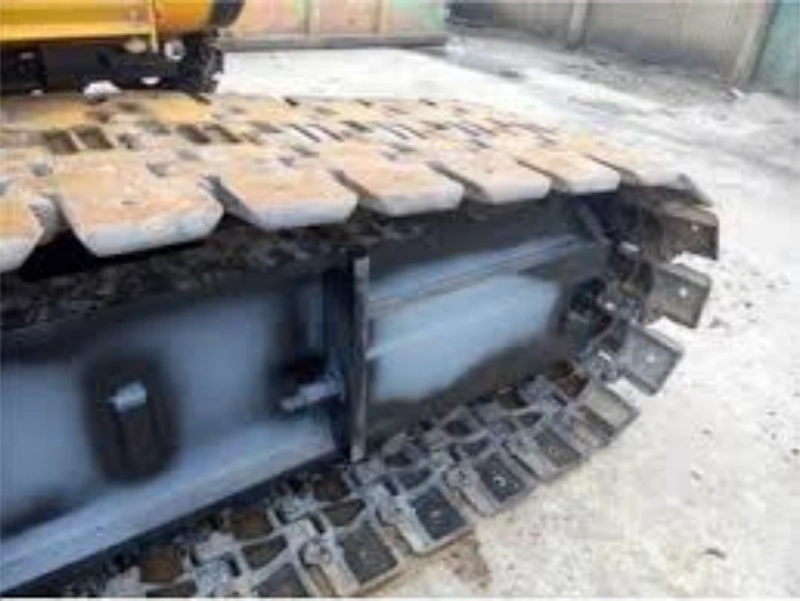
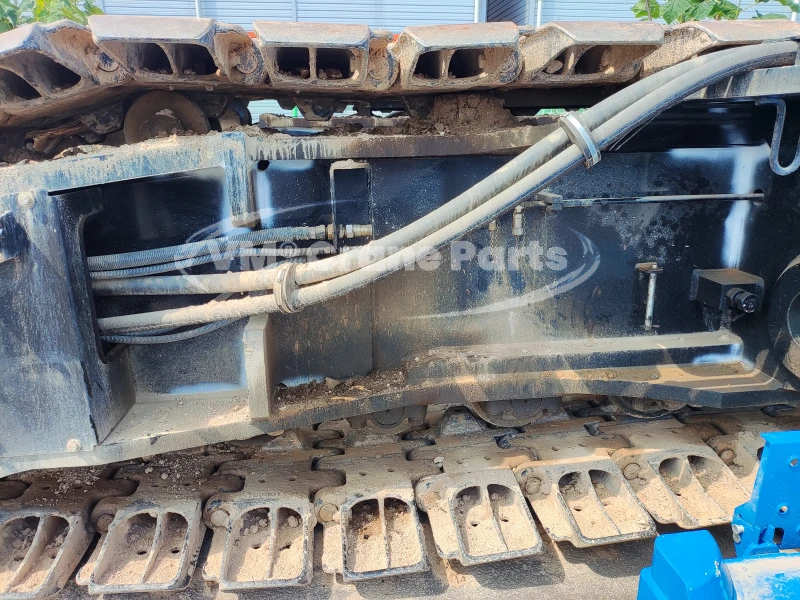
Regular inspections following proper procedures help prevent
- Unexpected downtime during critical projects
- Costly premature track system replacements
- Safety hazards from track failures
- Reduced crane stability during operations
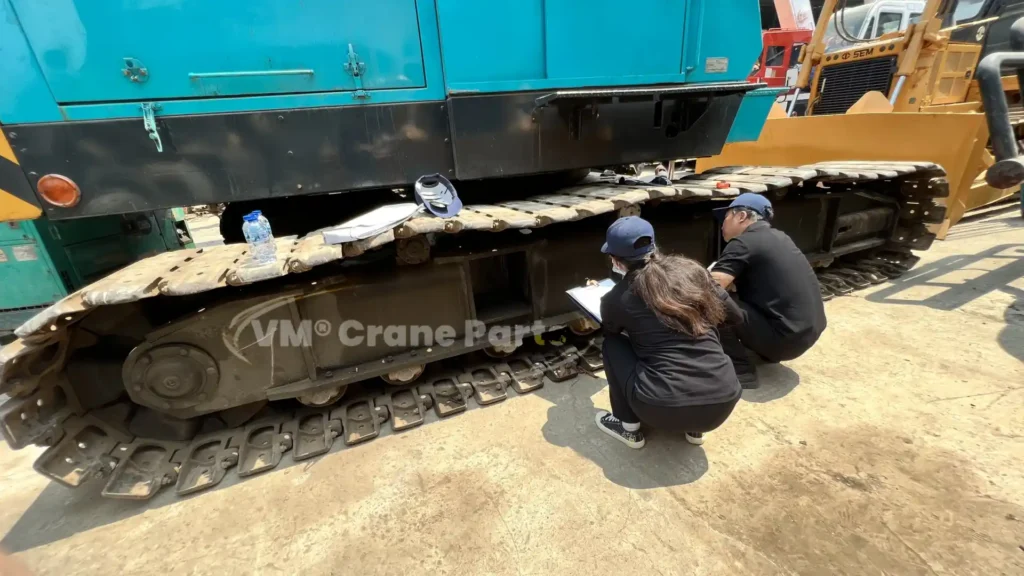
How to inspect crawler crane track shoes? Step by Step
1. Pre-Inspection Preparation
- Park the crane on level, stable ground
- Fully lower and secure the boom
- Engage all safety locks and shutdown engine
- Gather necessary tools: calipers, torque wrench, flashlight
2. Visual Track Shoe Examination
Following the crawler crane track pad inspection guide:
- Check each shoe for visible cracks or deformations
- Look for missing or loose track shoe bolts
- Document abnormal wear patterns across the track
- Identify surface damage from foreign objects
3. Detailed Measurements (Enhanced Practical Guide)
3.1 Pad Thickness Measurement
Use digital calipers with 0.01mm precision
Measure at 3 critical points per shoe
Center (minimum 35mm for new pads)
Inner edge (≥28mm acceptable)
Outer edge (≥28mm acceptable)
Compare with OEM specifications:
Liebherr LR 1300 track shoe: Replace at ≤25mm
Manitowoc 999 track shoe: Replace at ≤22mm
Sany SCC8500 track shoe: Replace at ≤20mm
3.2 Bolt Tightness Verification
Technical Specifications:
Standard torque range: 450-500 Nm (332-369 lb-ft)
Use calibrated torque wrench with ±3% accuracy
Check sequence (star pattern):
Start at the shoe center, alternate sides progressively outward, and finally check all bolts clockwise
Critical Note: Replace any bolts showing:
Stretched threads (measure with thread gauge)
Rust pitting >30% of surface
Head deformation
3.3 Wear Percentage Calculation
Formula:Wear % = [(Original Thickness – Current Thickness) / Original Thickness] × 100
Acceptable Limits:
- 0-30%: Normal operation
- 30-50%: Monitor weekly
- 50%: Immediate replacement
3.4 Uneven Wear Analysis
Calculate the wear differential:
Differential = |Inner Edge – Outer Edge|
Action thresholds:
- ≤2mm: Normal
- 2-5mm: Adjust track alignment
- ≥5mm: Investigate roller/sprocket wear
Common Causes:
- Improper track tension (65% of cases)
- Misaligned idlers (25%)
- Frame distortion (10%)
4. Track System Alignment Check
4.1 Checking Track Tension
How to measure:
Find the middle between rollers and measure how much the track sags
What’s normal:
- For most cranes: 30-50mm (about 1-2 inches) of sag
- Bigger cranes (400-ton): 150-200kN tension
- Smaller cranes (200-ton): 80-120kN tension
Tip: Do this on level ground for accurate results
4.2 Roller Alignment Check
Simple method: Look for uneven wear on roller edges
Warning signs:
One side of the roller wears faster than the other
Strange rub marks on track guides
Uneven grease marks
Action needed: If rollers are off by more than 5mm, they need adjustment
4.3 Track Chain Movement Check
What to measure:
- Up-down movement: Should be less than 5mm
- Side-to-side movement: should be less than 8mm
Wear limits:
- Chain pins shouldn’t wear down more than 4%
- Bushings shouldn’t stretch more than 3mm
4.4 Checking Roller Contact Patterns
What to look for:
- Even wear across center: Good condition
- More wear on inside edge: May need shims
- More wear on outside edge: Check alignment
- Uneven patches: Possible frame damage
When to replace: If rollers are worn more than 15%
Replacement Criteria for Track Shoes
- Pad thickness below manufacturer minimum (often 25mm)
- Multiple cracked or broken shoes in one track
- More than 30% bolt replacement per segment
- Severe cupping or edge deformation
28 Years of Excellence in Crawler Crane Undercarriage Solutions
For nearly three decades, we have been the trusted partner for crawler crane undercarriage parts and service, delivering unmatched quality and reliability to keep your equipment running at peak performance.
Maintenance Best Practices
- Clean track system after each shift
- Rotate track shoes periodically for even wear
- Maintain proper tension to reduce stress
- Keep detailed records of all inspections
- Train operators on proper travel techniques
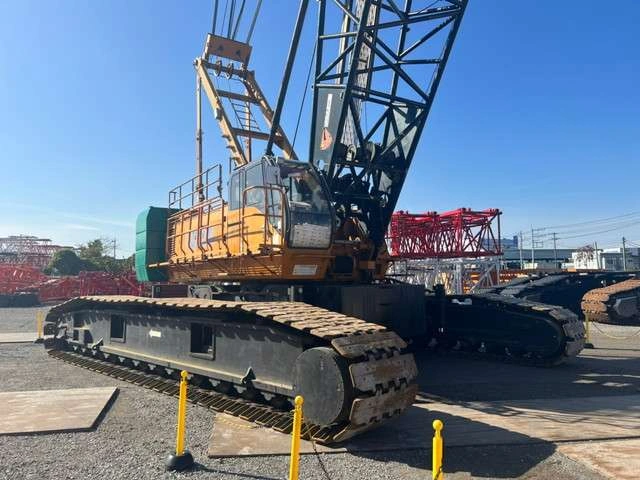

How to Inspect Crawler Crane Track Shoes - Daily Checklist
Recommended intervals:
- Daily: Visual checks during pre-operation
- Weekly: Basic measurements and bolt checks
- Monthly: Comprehensive inspection per crawler crane track pad inspection procedure
How to Inspect Crawler Crane Track Shoes - Conclusion
Implementing this crawler crane track pads inspection guide – including proper procedures for how to inspect crawler crane track shoes – ensures your equipment maintains peak performance and safety standards. By following the detailed crawler crane track pad inspection procedure outlined above, you can significantly extend track system life and prevent unexpected failures.
